
This article details a full walkthrough of the PlayHQ registration process, upon hitting 'Register' on the relevant product on PlayCricket. Included in this step-by-step;
- Creating a PlayHQ account
- Creating a Cricket ID/Linking a Cricket ID
- Registering a child/dependant.
Important things to note:
> A ‘Cricket ID’ is not the same as a MyCricket ID. A Cricket ID is a participant’s key to the Australian Cricket digital ecosystem. It is used to interact with all Australian Cricket apps and websites from the MyCricket App through to cricket.com.au. Your Cricket ID ensures a tailored experience across all of these platforms.
> It is recommended that you use a Microsoft Edge or Safari browser when registering through PlayHQ, this will ensure you do not encounter any issues when trying to link your Cricket ID (detailed in Step 10). If you use Mozilla Firefox or Google Chrome you may encounter some intermittent errors.
> If registering a Child, please remember to create your PlayHQ account first. When registering a child, please make sure you link your Cricket ID to their PlayHQ account. Children do not need a Cricket ID.
________________________________________________________________________________________________________________
The below example is of a Cricket Blast Holiday Program participant registration, however the instructions are much the same for Junior and Senior Cricket registrants.
_______________________________________________________________________________________________________________
1. (0:16 in video) Via the PlayCricket website, find your club and click on 'Register' under the relevant product. 
Upon hitting 'Register' on the product via the PlayCricket website, you will be redirected to PlayHQ.
Once you've reviewed the product details on the PlayHQ page, click on 'Get started -->'.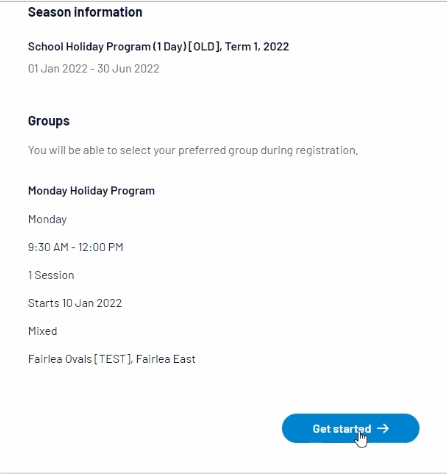
2. (0:37 in video) If you already have a PlayHQ account, skip to Step 5.
If you do not have an account yet, click on 'Create an account'.
> Even if you're registering a child, please create a PlayHQ account with your own details, as prompted. You can then register family members, or dependants under your PlayHQ account;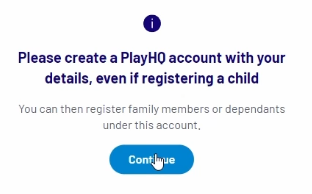
________________________________________________________________________________________________________________
3. (0:48 in video) If creating a new account, complete the details as required and then hit 'Sign up'.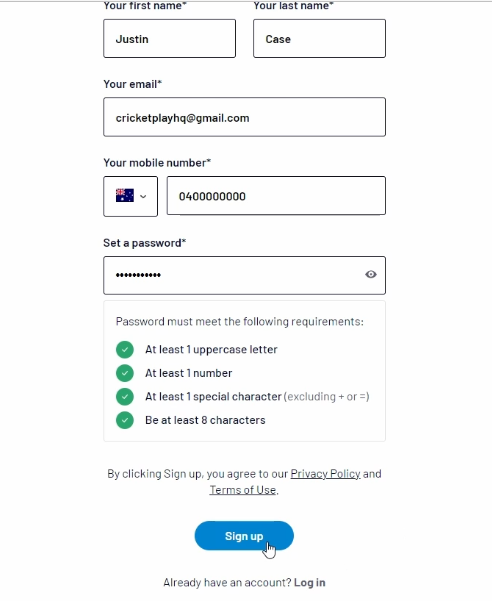
________________________________________________________________________________________________________________
4. (1:07 in video) For those signing up new to PlayHQ, a verification code will be sent to your email. You will need to obtain the verification code via your email inbox and confirm the code on the PlayHQ site;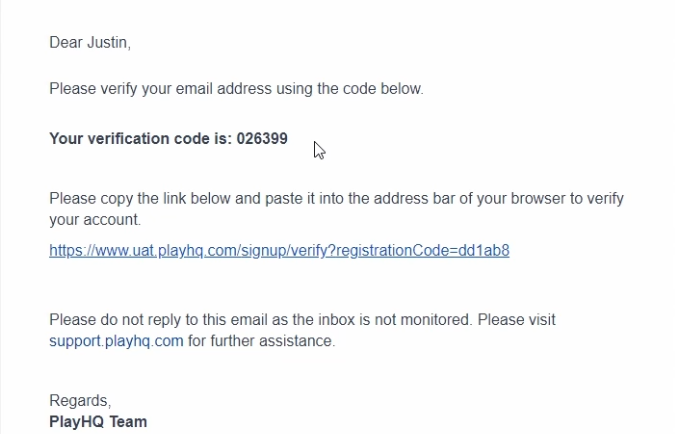
________________________________________________________________________________________________________________
Hit 'Confirm code' once entered.  ________________________________________________________________________________________________________________
5. (1:32 in video) Now, log into your PlayHQ account using your email address and password.
________________________________________________________________________________________________________________
6. (1:44 in video) In this scenario, a parent is registering their child.
The new family member or dependant will be linked to the PlayHQ account that has logged in.
Once selected, click 'Continue -->'.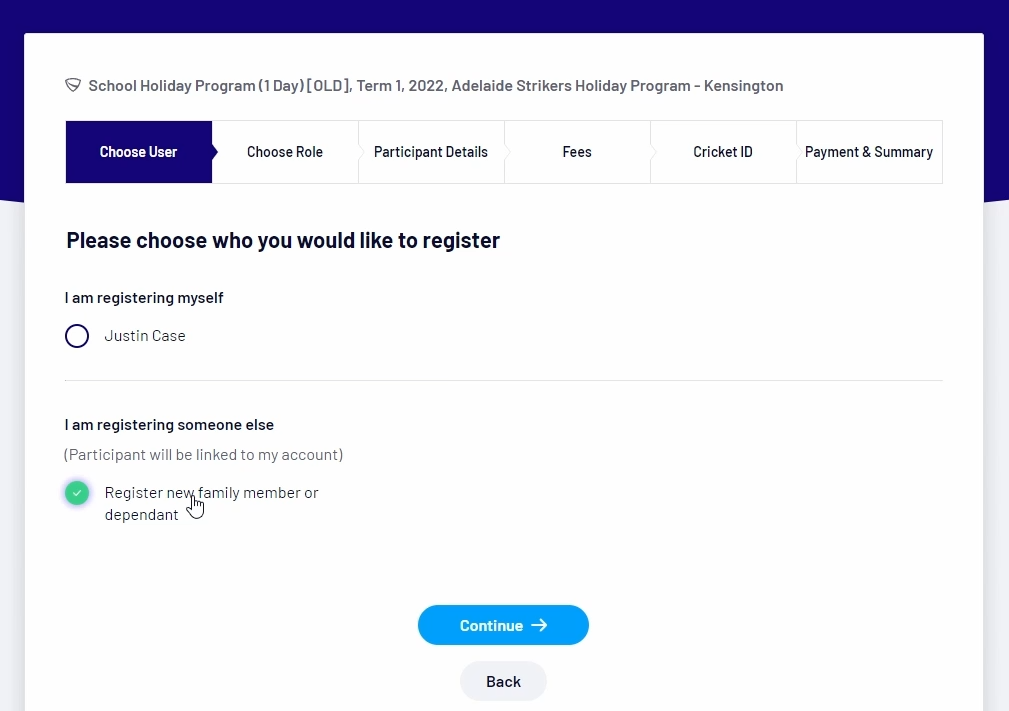
________________________________________________________________________________________________________________
7. (1:57 in video) Select the role in which the participant is registering as. In this case, we're registering a child/dependant as a 'Player'.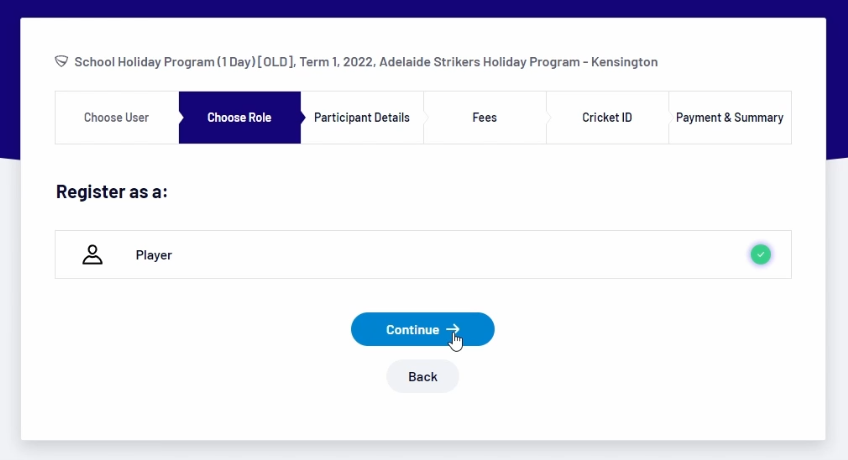
________________________________________________________________________________________________________________
8. (2:06 in video) Complete all the Participant Details;
Once you've completed all the participant details, hit 'Save and Continue -->'.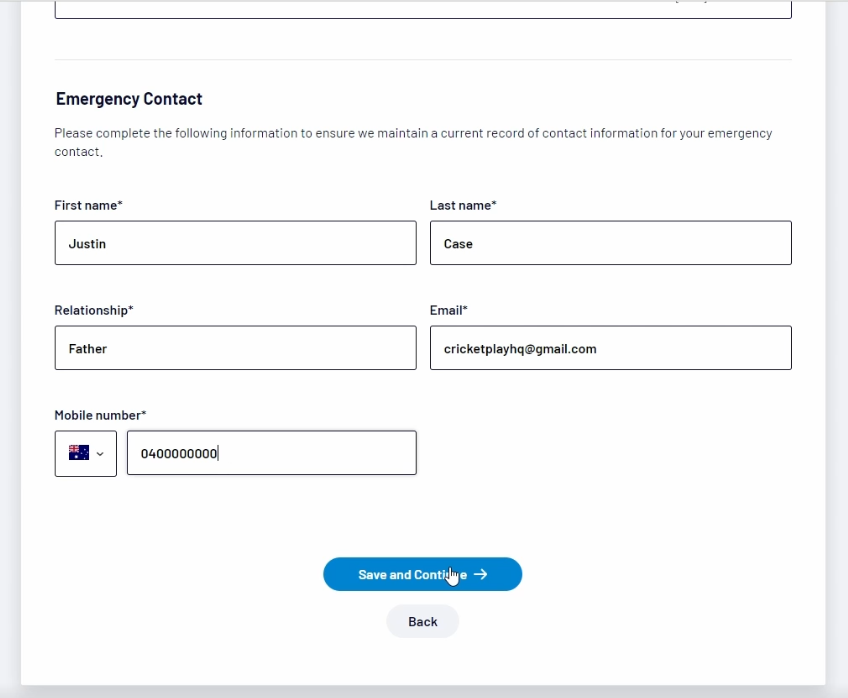
________________________________________________________________________________________________________________
9. (2:28 in video) Ensure to acknowledge the terms and conditions under the 'Fees' section and click 'Continue -->'.
________________________________________________________________________________________________________________
10. (2:35 in video) Next is to Link your Cricket ID with your PlayHQ account. You may have created a Cricket ID previously if you've undertaken any coaching or umpiring courses online, or even via the MyCricket app.
Please note that a 'Cricket ID' is NOT a 'MyCricket ID'.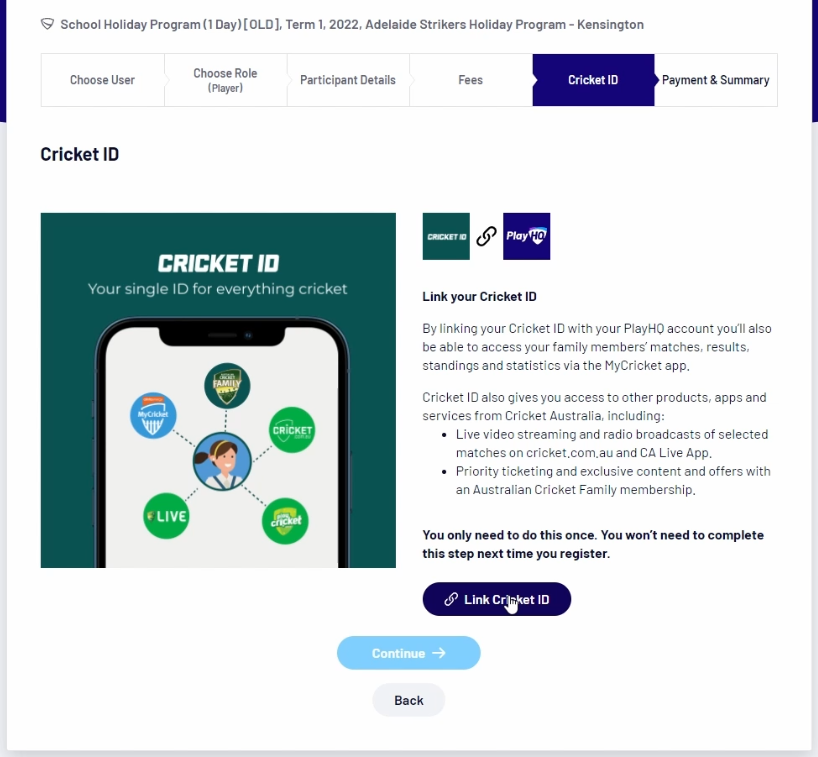
You will then be directed to the Cricket ID page - if you already have a Cricket ID, log in using your email and password. If not, hit 'Sign Up'.
- If the page is blank, try using a different browser (i.e. Microsoft Edge).
________________________________________________________________________________________________________________
Complete all the details and then hit 'Create Cricket ID'.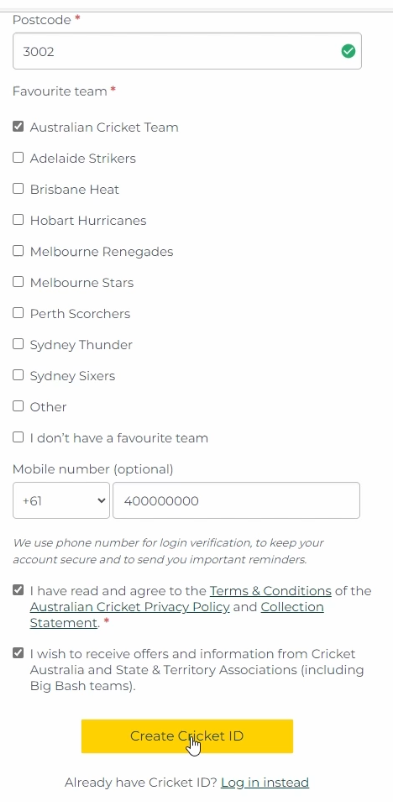
________________________________________________________________________________________________________________
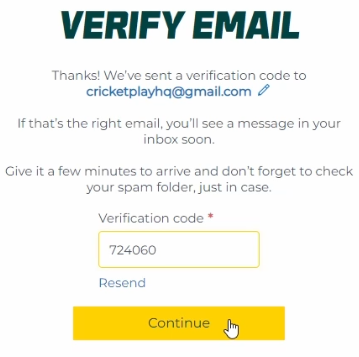
11. (3:21 in video) For those who've just created a Cricket ID, a verification code will be sent to your email. Obtain the verification code via your email inbox and confirm the code on the Cricket ID page.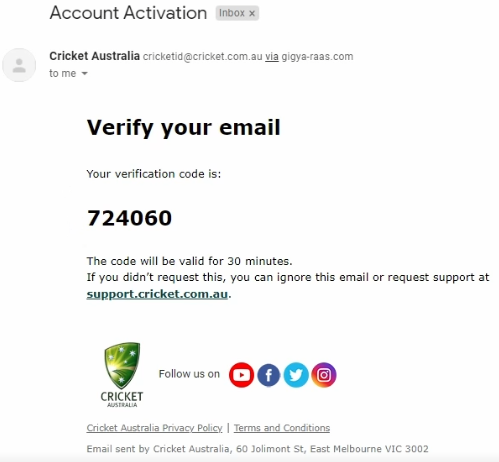
________________________________________________________________________________________________________________
Hit 'Continue' once entered.
________________________________________________________________________________________________________________
12. (3:40 in video) You will then be re-directed back to the PlayHQ site. You should see that your Cricket ID is 'Linked' - hit 'Continue -->'.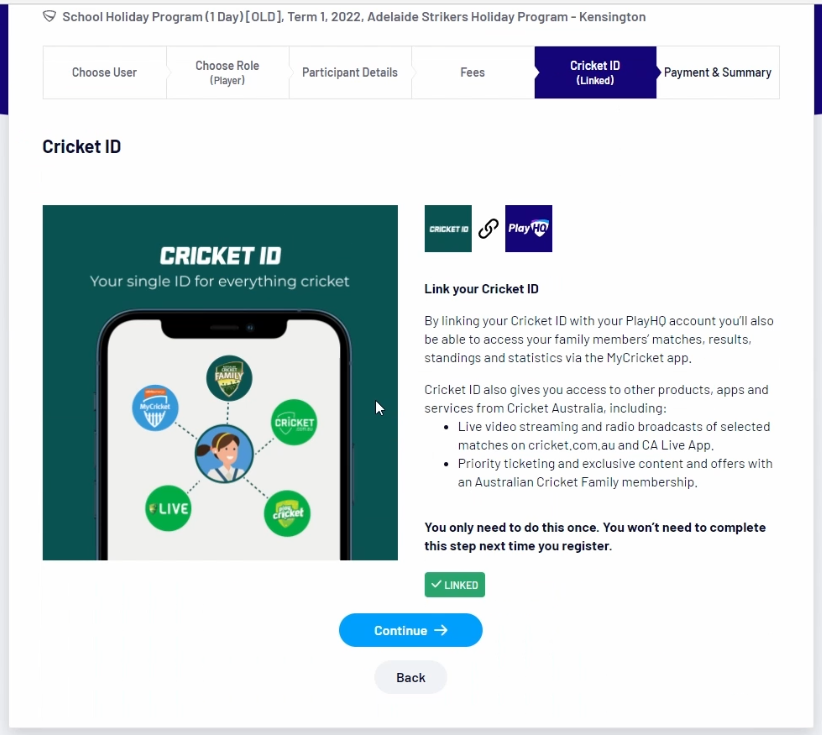
________________________________________________________________________________________________________________
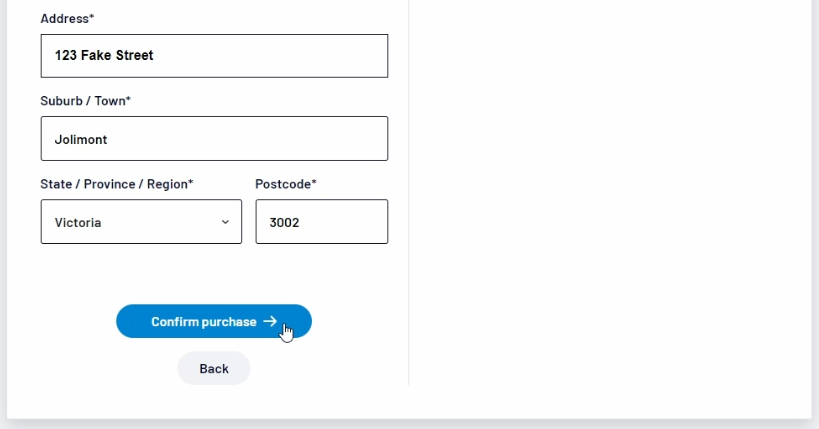
13. (3:51 in video) Finally, complete your payment details and hit 'Confirm purchase'.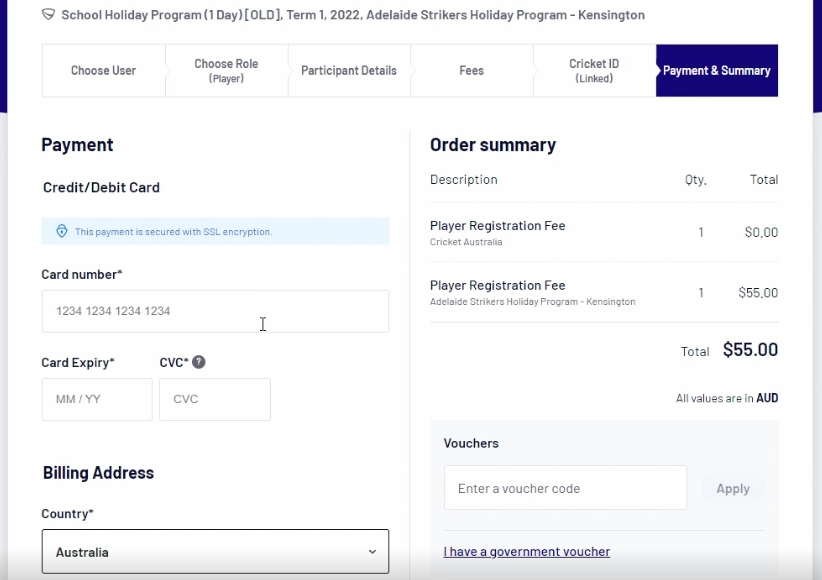
Comments
0 comments
Article is closed for comments.